Installation
The Bend Modifier is a Modifier asset, meaning it is installed as part of Blender’s Asset Library rather than a traditional add-on. Once set up, you should be able to access it directly from the Deform category in Blender’s modifier menu.
Step 1: Download the Files
You will be provided with the following files:
bend_modifier.blend: This is the main file containing the modifier asset.blender_assets.cats.txt: This is the configuration file that tells Blender to add the modifier to the “Deform” modifier category.
Save these files together to a new folder where you want to store your Blender Asset Library.
Step 2: Set Up Your Asset Library in Blender
If you haven’t already set up an Asset Library, follow these steps:
Open Blender and go to Edit → Preferences.
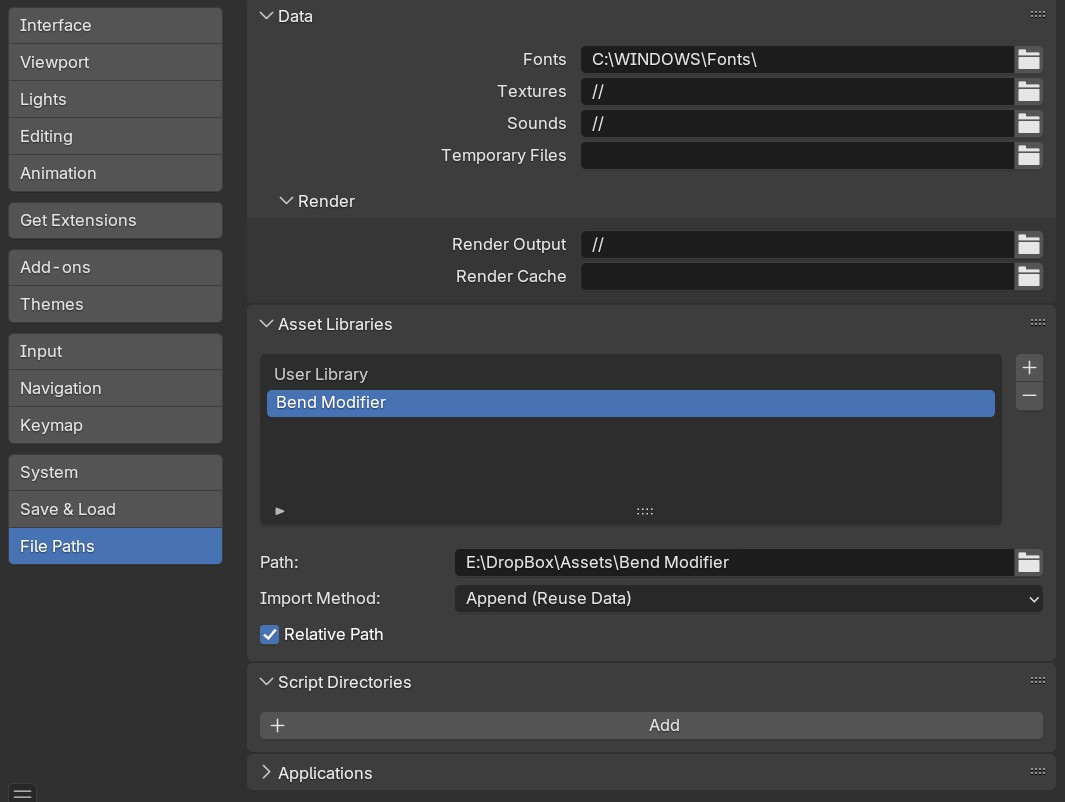
Navigate to the File Paths section.
Under Asset Libraries, click the + (Add New) button.
Name the library (e.g., “My Assets”) and select the folder where you saved the Bend Modifier
.blendfile.Click Save Preferences.
You can then follow the steps in How to Use.
Note
Ensuring Bend Modifier Appears in the Deform Modifier Category
By default, Blender does not categorize custom modifier assets automatically.
If Bend Modifier appears in the Unassigned category instead of Deform, follow these steps to manually set the correct category inside Blender.
Once downloaded to the directory you wish to keep the asset, open the bend_modifier.blend file.
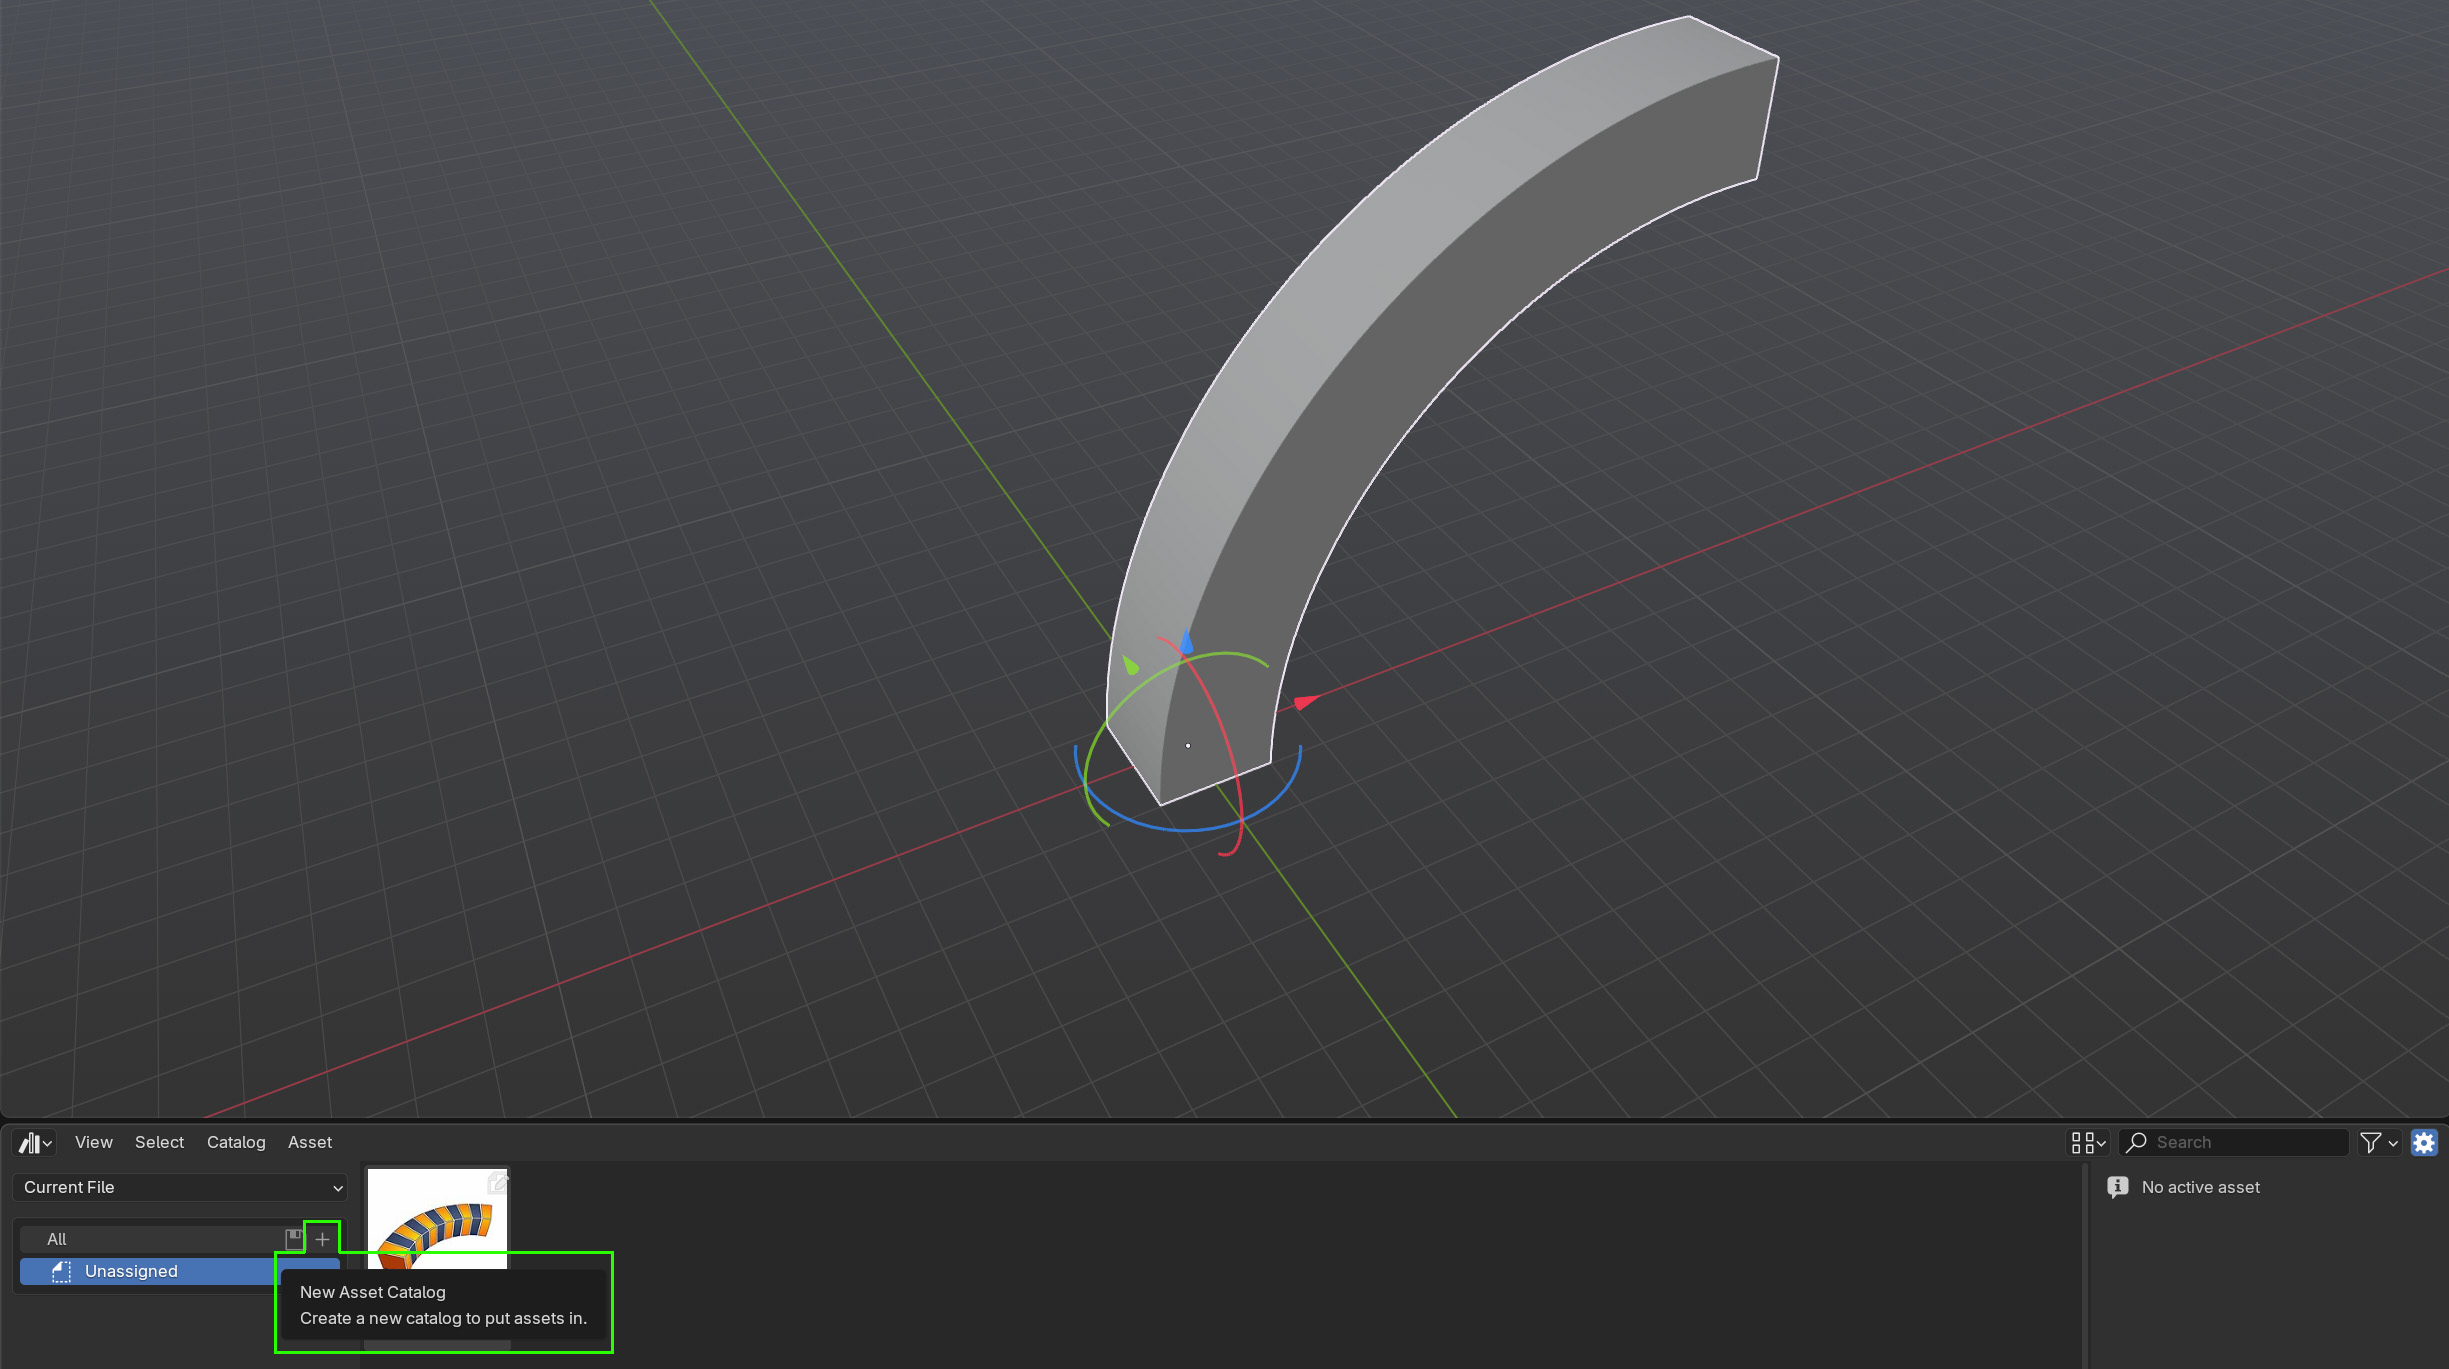
In the Asset Browser window, click the ‘+’ button to create a new asset catalog. A new catalog will appear:
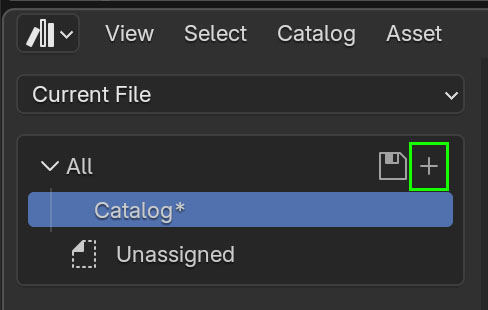
Double click the new catalog to rename it. Name it ‘Deform’:
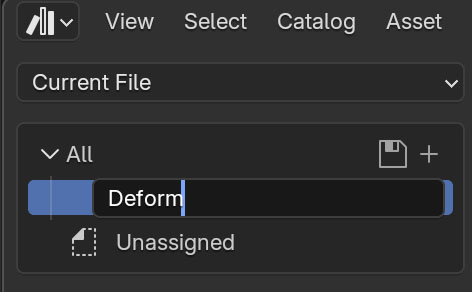
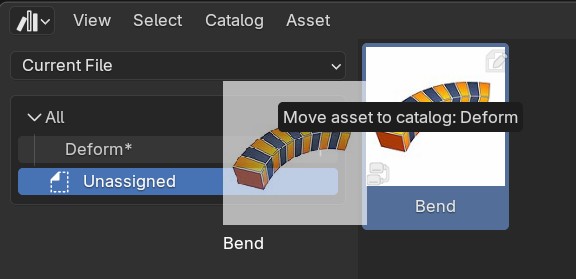
Drag the Bend Modifier from the ‘Unassigned’ category to the ‘Deform’ category:
Save the .blend file and restart Blender to refresh the Asset Library.